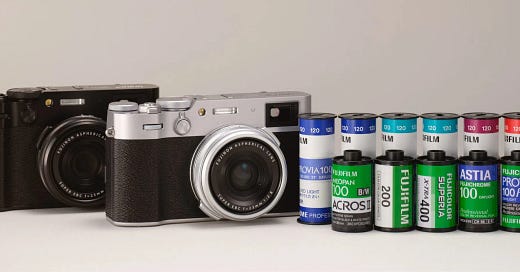
It’s well said on their site explaining the simulations: It’s “The ‘Look’ That Wins Your Heart”. It’s one of the reasons I bought the X-T5. Granted, a lot of the magic is created in-camera by using the simulations as a base and tweaking them to achieve an infinite number of looks that simply can’t be duplicated in other camera brands.
Shooting raw, though, and processing in an editor like Adobe Lightroom allows one to still have access to the foundational simulations. I’ve spent a fair amount (too much) of time looking for profiles or presets that closely match the look of Fujifilm without much luck. They exist, but in my opinion they don’t come close.
I found an interesting way to delve into the xmp files within the Lightroom application and basically modify the xml files that tell Lightroom which profiles should be available to which camera. The shortcoming is that this only works with Fujifilm raw files (not all cameras have access to all simulations). This hack lets you access them all, irrespective of the Fujifilm model.
This method I’m sharing is different, and better. This method will allow you to access all the Fujifilm profiles to which you would normally have access in Adobe Lightroom (Classic Chrome, Classic NEG, etc.) using the raw files produced by any camera.
Of course, each brand’s sensor processes and saves color differently due to their unique “color science” so the resulting raw files naturally differ. They also handle things like white balance, tones, and contrast differently, However, I’ve played around and the results are pretty amazing. I’ve provided a few examples after I explain the steps, and you will that see it does a remarkably good job. Exciting, right!?
Here are the steps
Download Adobe’s (free) DNG converter: https://helpx.adobe.com/camera-raw/using/adobe-dng-converter.html. The application is simple and straight forward to use. It will convert your raw files to Adobe's Digital Negative (DNG) format, which is an open-source raw image format. It has an easy-to-use GUI, but you can also control it via the command line:
dngconvert -c "/path/to/source_directory" -d "/path/to/destination_directory" -p1 -oOnce you’ve converted the files, download and install the (free) Exiftool: https://exiftool.org/ and add the metadata to your newly created DNG files by using the following command:
exiftool -model="X-T5" -uniquecameramodel="Fujifilm X-T5" -make="FUJIFILM" -overwrite_original /Users/yourname/converted-dngs/*Import the DNG files you just modified into Adobe Lightroom (and I’m guessing it also works in other editors but haven’t tested). Once inside Lightroom, click on “camera matching profiles” in the profiles section and the Fujifilm profiles should appear. That’s it!
Sample test images
Original Images (of my dog’s medication) are using the Adobe Color profile. The images on the left were shot on the Fujifilm X-T5 with the Viltox 33mm f/1.4 (50mm full frame equivalent). The images on the right were shot on the Nikon Z 8 with the 50mm f/1.2, both shot at f/1.4.

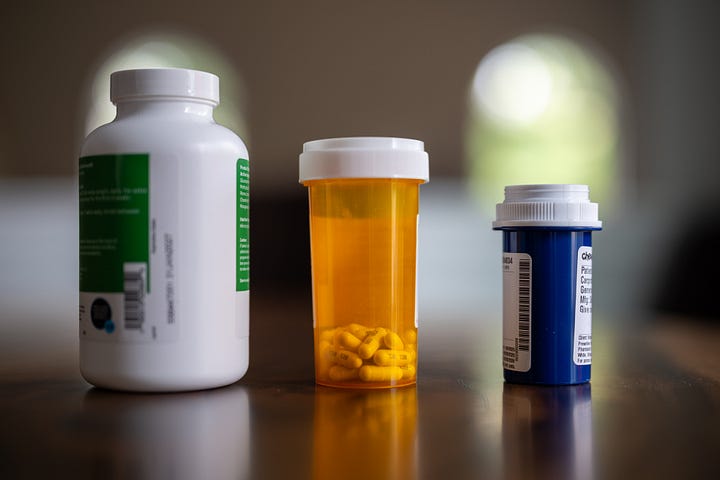
Same images with Classic NEG applied to them each.


Same images with Velvia/Vivid applied to each


These images demonstrate a very basic example of how well this works. I should have taken some more and have included a wider range of color, especially some with reds, but I’ll leave that up to you. Give it a try and let me know what you think.

